What are bleeds and why do I need them?
Programs used: Adobe InDesign
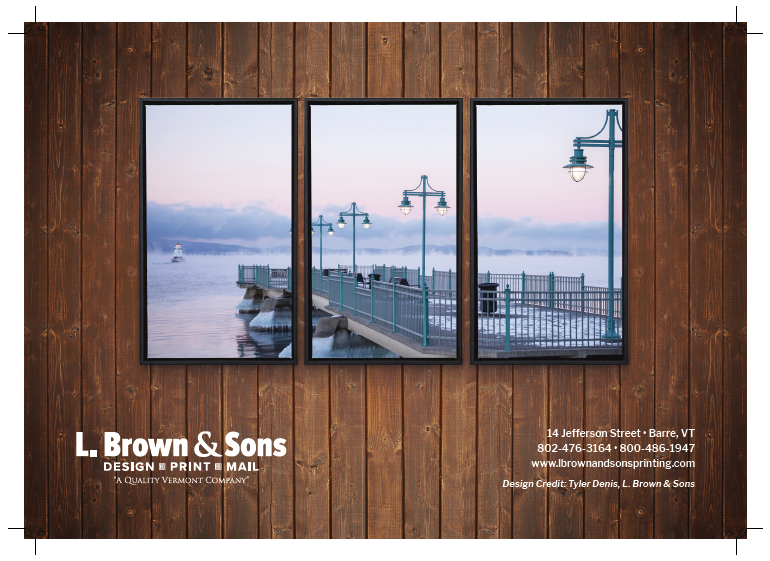
What: Bleeds are used when an image, text or color blocks go to the edge of the document. The image should typically extend .125” past the edge of the document.
Why: While bleeds may not seem important, or get in the way when designing a project, they are important to ensure everything is printed correctly. Typically your project gets printed on a larger sheet with multiple business cards, brochures or pages of a book on it. When we cut these out there is sometimes a small variance is paper size, printing position, folding, etc. If you are printing a saddle stitch book the pages will creep as you get to the center (the middle pages will be shorter than the outside). Because of this variance, there is a chance you will have some white edging showing through without bleeds. Adding a bleed makes sure there are no white edges and the artwork goes to the edge every time.
Now we are going to learn how to set up a document to have bleeds, ready for printing.
1. Setting Up the Document
Let's open up InDesign and create a new document (Command+N). First off we want to make sure our bleeds are set to .125”. It is also a good idea to keep your margins at .125” at the minimum.
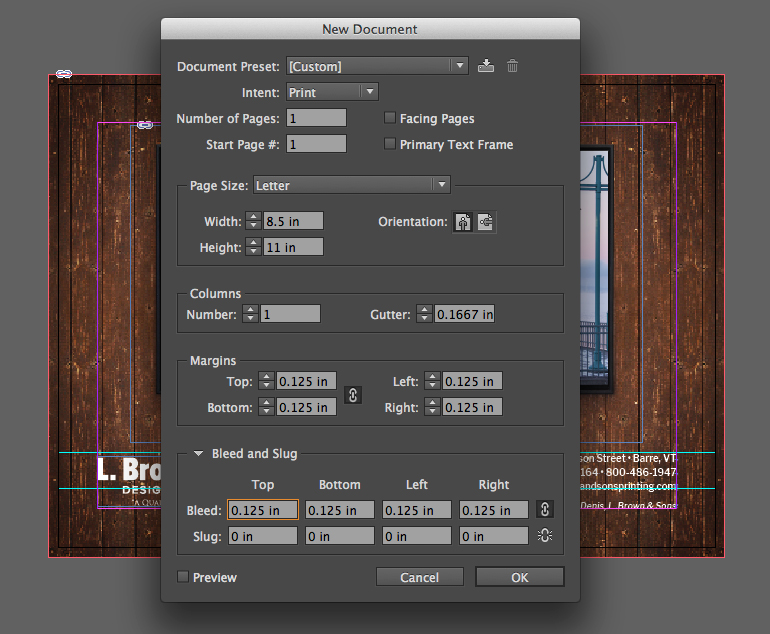
If you already have a document set up, you can go to File>Document Setup (Command + Option + P) to change your bleed settings.
Adding the bleeds to your document will add a red box around the page, with the black border being your trim area.
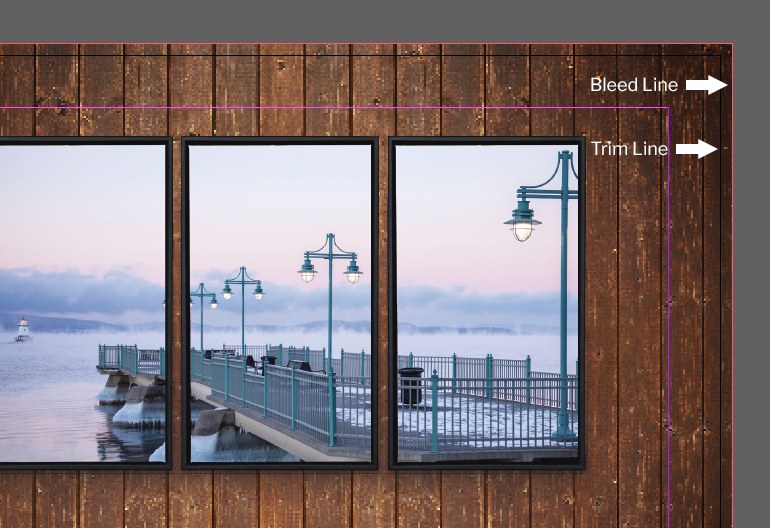
2. Creating the Bleed
Now you can start creating your document. When you are designing extend the images, text and color blocks to the red box so that they bleed off the page.
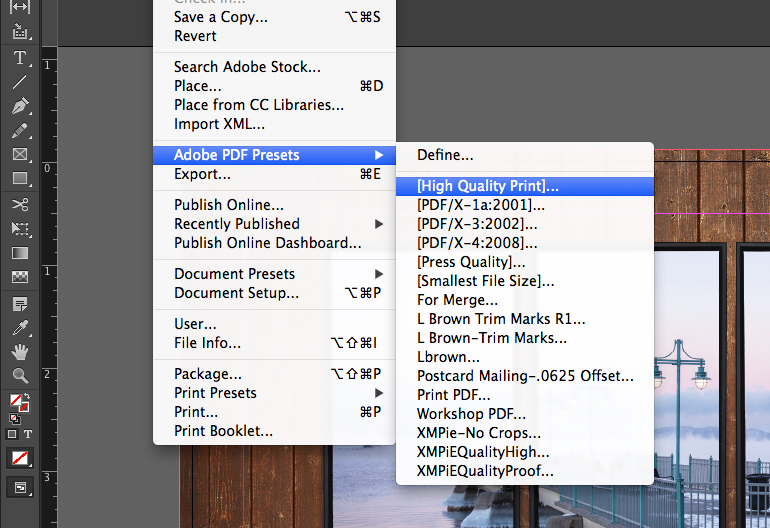
3. Create a Print-Ready PDF
Once you are finished the next step is to create a PDF of the project with bleeds. Go to File>Adobe PDF Presets>High Quality Print.
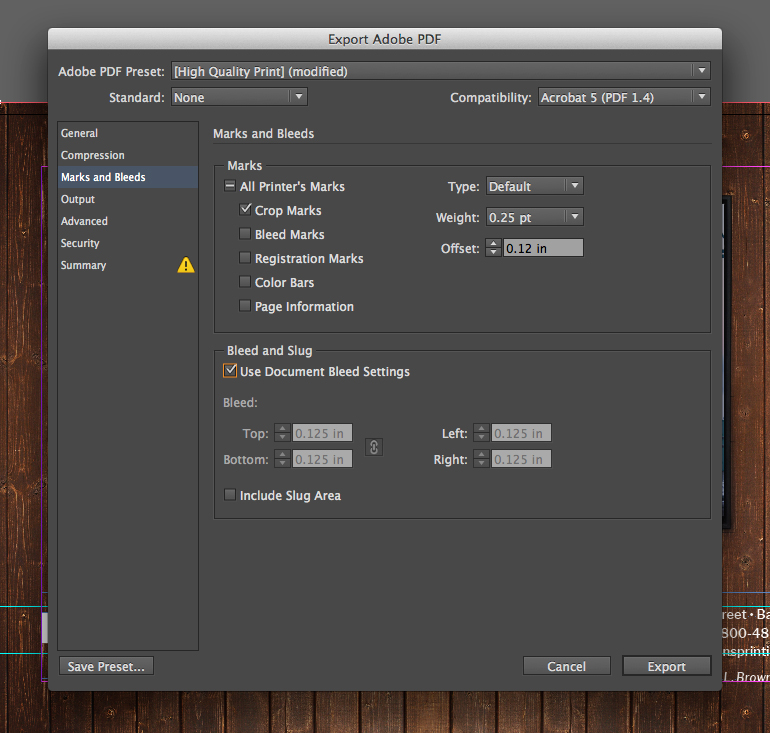
4. PDF Settings
In the settings menu go to “Marks and Bleeds”. From here, we want to select “Crop Marks”, change the offset to .12” and change the bleed to “Use Document Bleed Settings”. Click “Export”.
Final
You'll notice in the PDF that our document now has bleeds, which go past where the document gets cut at the crop marks.